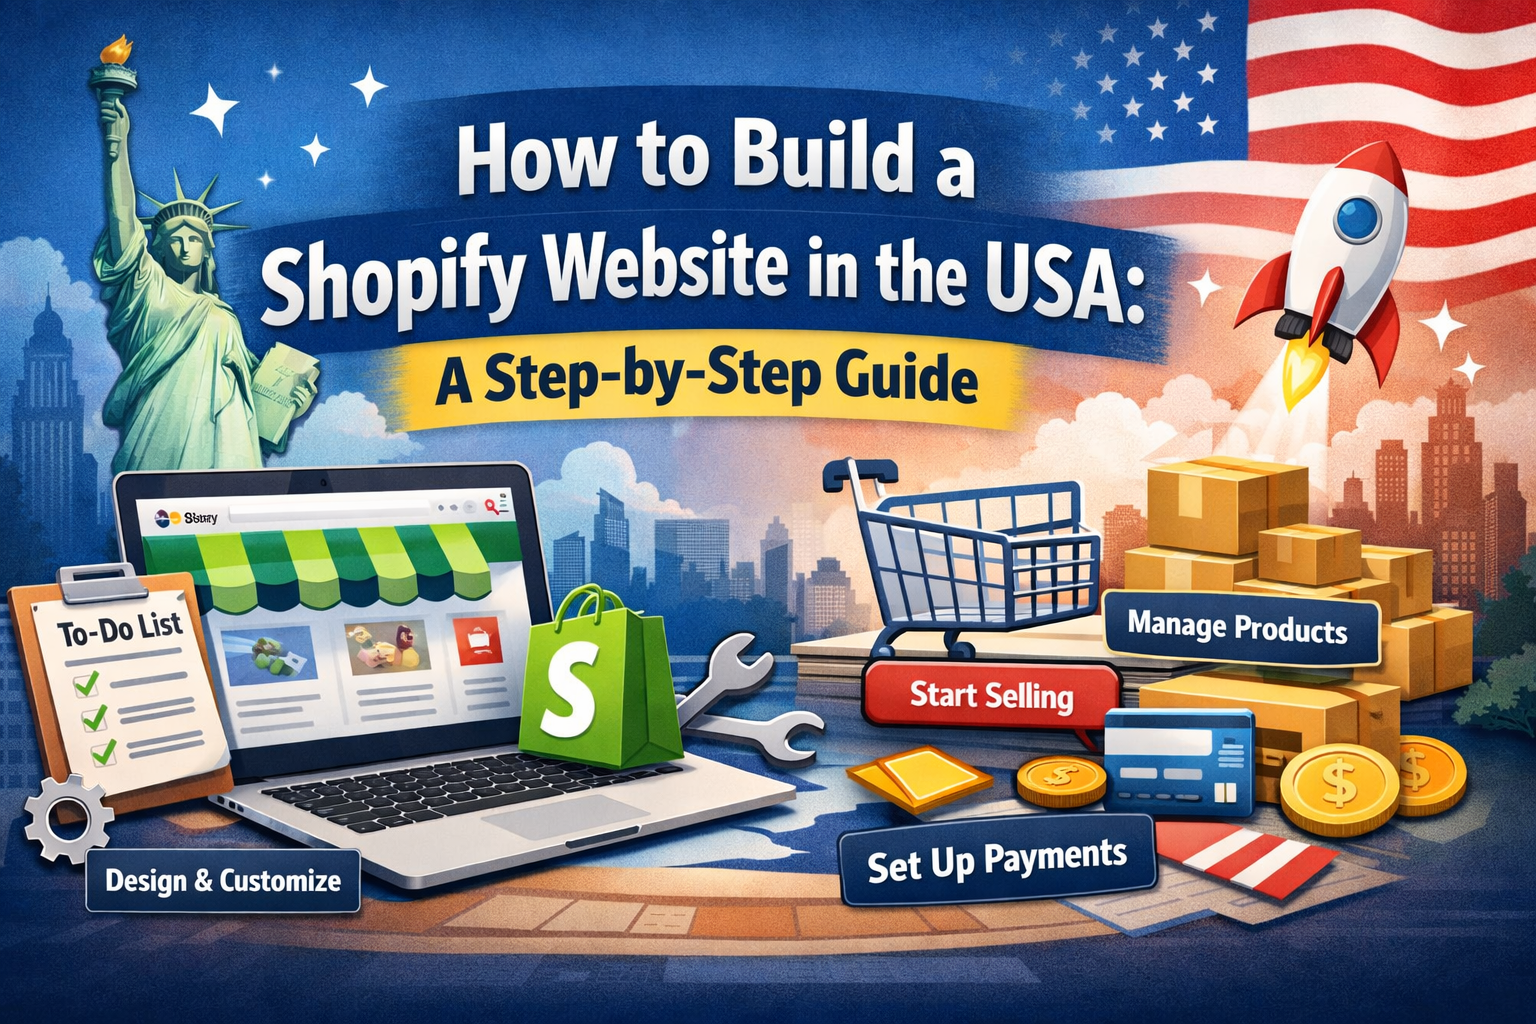
If you’re an entrepreneur or small business owner in the USA, launching an online store is one of the fastest ways to reach customers nationwide. Shopify powers millions of stores – from solo makers to major brands – because it’s user‑friendly, scalable, and built specifically for ecommerce.
In this guide, you’ll learn exactly how to build a Shopify website step by step. No coding skills required. We’ll cover choosing a plan, designing your store, adding products, setting up US‑friendly payments and shipping, and finally launching. By the end, you’ll have a live, professional store ready to sell.
Before we dive into the steps, let’s clarify why Shopify is a top choice for American merchants:
Whether you’re selling handmade goods from Texas or dropshipping from California, Shopify gives you a solid foundation. Now let’s walk through how to build a Shopify website from zero to launch.
Go to Shopify.com and click “Start free trial”. You don’t need a credit card immediately.
Shopify offers three main plans for US businesses (prices in USD, billed annually):
| Plan | Monthly price | Best for |
|---|---|---|
| Basic | $29 | New stores, <2,000 orders/month |
| Shopify | $79 | Growing brands, professional reports |
| Advanced | $299 | High‑volume stores with custom reporting |
For most beginners, Basic Shopify is perfect. It includes unlimited products, 24/7 support, and a free SSL certificate. You can upgrade later as your sales grow.
After entering your email, store name, and a few details, you’ll land in the Shopify admin dashboard. That’s your command centre.
Pro tip: While you build your Shopify store, you might also explore other platforms. If you later decide to switch to an open‑source solution, services like custom WordPress development give you full control – but Shopify is far easier for non‑developers.
Before designing, configure these critical settings for the USA:
Shopify Payments (powered by Stripe) is the easiest – no third‑party fees.
Enable:
If you need other options (Amazon Pay, Venmo), you can add them later. Avoid activating every gateway – too many choices can confuse customers.
Shopify automatically calculates US sales tax based on your location and where you have “nexus” (physical presence). Go to Settings → Taxes → set your home state and any states where you have warehouses or offices.
For most states, you’ll collect tax on shipping as well. When in doubt, consult a CPA – but Shopify’s default settings work for many small stores.
US customers expect clear, affordable shipping. Under Settings → Shipping:
Shopify integrates with ShipStation or Shippo for discounted labels – but start simple with manual rates.
Your store’s look matters – 94% of first impressions are design‑related. Shopify has both free and paid themes.
To install: Online Store → Themes → Explore free themes (or visit the Theme Store).
After installing a theme, click Customise to edit:
Keep the design clean and fast. Avoid heavy sliders or autoplay videos – they hurt performance.
Need a more affordable design approach? If your budget is tight, you can still get a polished look using templates from affordable web design for small business providers – many offer Shopify‑ready customisations starting at a few hundred dollars.
Now it’s time to add what you’re selling. Go to Products → Add product.
Fill in each field carefully – this is your sales copy.
| Field | What to write (US audience) |
|---|---|
| Title | Clear, descriptive (e.g., “Men’s Cotton Crewneck Sweater – Navy”) |
| Description | Benefits + specs. Use bullet points. Mention size, material, care. |
| Media | High‑quality photos (white background preferred). Add 3–5 images per product. |
| Price | Compare‑at price (strikethrough) for discounts. |
| Inventory | Track quantity if you manage stock. |
| Variants | Size, colour, style. Shopify handles them automatically. |
| Product type | “T‑shirt”, “Mug” – helps with filtering. |
| Vendor | Your brand name. |
Pro tip for US sellers: Add a “Made in USA” badge if applicable – it increases trust. Also, include clear sizing charts for clothing (US sizes differ from EU/Asia).
Repeat for all your products. If you have hundreds, use the Bulk import feature via CSV.
Every legitimate US ecommerce store needs these pages. Create them under Online Store → Pages.
Also add Shipping Policy and FAQ. These pages reduce customer service emails.
Make it easy for US shoppers to find products.
Go to Products → Collections. Create collections like:
You can add products manually or automatically based on conditions (e.g., price < $50).
Under Online Store → Navigation:
Keep the main menu to 5–7 items maximum. On mobile, less is more.
Before going live, you must test everything. Shopify provides a “test mode” for payments.
Also test on different devices: iPhone, Android, laptop, tablet. Fix any layout or speed issues.
External resource: Use Google’s PageSpeed Insights to test your Shopify store’s speed. A slow site hurts conversions – Shopify stores can still benefit from image compression and app cleanup.
Just launching a store isn’t enough – you need customers. Shopify has built‑in SEO tools, but you must use them.
Online Store → Preferences → Homepage meta tags
Each product has a “Search engine listing” section. Edit the URL handle (short, keyword‑focused), meta title, and meta description.
Your sitemap is automatically at yourstore.com/sitemap.xml. Submit it via Google Search Console (free tool).
Write articles around topics your customers search for, e.g., “How to brew pour‑over coffee”. This drives long‑term organic traffic.
If SEO feels overwhelming, you can work with a freelance SEO expert to audit your store and create a content strategy – a small investment that pays off in consistent US traffic.
You’ve tested, optimised, and added products. Now it’s time to go live.
yourstore.myshopify.com domain, but a custom domain (e.g., yourstore.com) is more professional. Buy one through Shopify or connect an existing one (GoDaddy, Namecheap, etc.).Congratulations – you now know how to build a Shopify website from scratch!
Launch is just the beginning. To succeed in the competitive US market:
Even on Shopify, you’ll need occasional maintenance. If you ever migrate to another platform or need ongoing care, services like WordPress maintenance services can keep any self‑hosted store secure – but Shopify handles the basics for you.
For a typical US small business:
| Setup phase | Time required |
|---|---|
| Account & settings | 1 hour |
| Theme customisation | 2–4 hours |
| Adding 20–50 products | 3–6 hours |
| Pages & legal | 1–2 hours |
| Testing & launch | 1–2 hours |
| Total (spread over a week) | 8–15 hours |
Most people complete how to build a Shopify website over a weekend. If you have 200+ products or complex shipping rules, expect 3–5 days.
Shopify has democratised ecommerce for US entrepreneurs. You don’t need to be a developer, designer, or logistics expert. By following this guide, you’ve learned exactly how to build a Shopify website that is secure, fast, and ready to sell.
Remember: a great store is never truly finished. Keep testing, updating products, and listening to your customers. And if you ever need help beyond Shopify – whether it’s custom web work, SEO, or a different platform – resources like Webfreelancer.in offer experienced professionals who can support your journey.
Now go ahead – launch your store and make your first sale. The US market is waiting.


Online • Typically replies in minutes

